Solflare is a new wallet for Solana Blockchain created by the Solana team. Solflare wallet is easy to use and allows you to securely store, send, and receive SOL and other Solana-based tokens. In this article, we will discuss how to set up and use Solflare wallet.
Step 1: Create a New Wallet
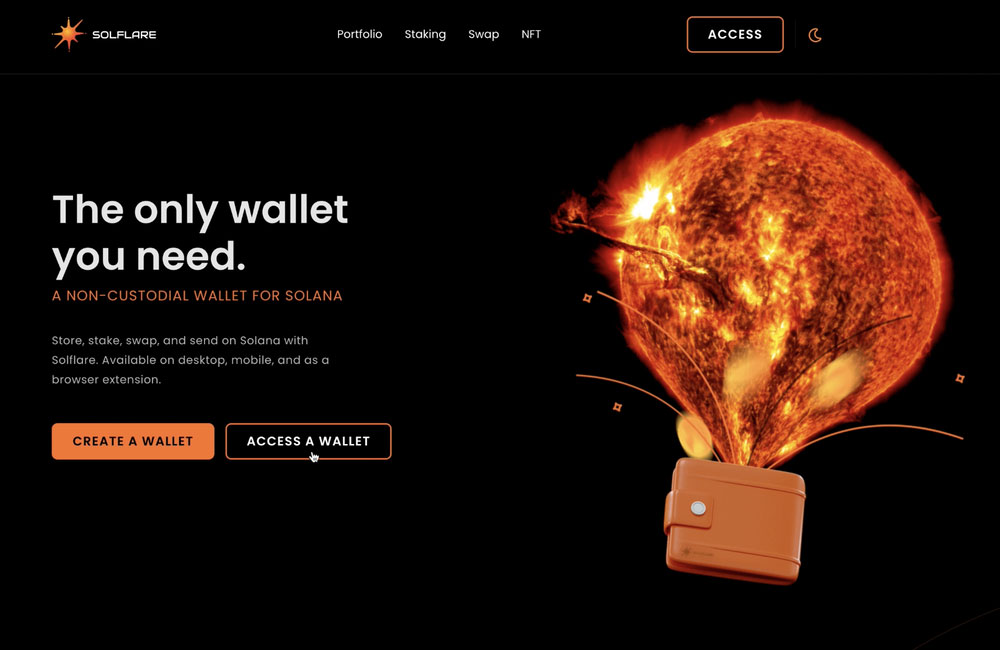
Before setting up Solflare Wallet, you need to create a new wallet. Go to the solflare and click on the “Create New Wallet” button.
Enter a strong password and click on the blue “Create Wallet” button. Remember, you will not be able to reset or recover your password, so keep it safe and secure.
Once you’ve created a wallet, note down your 24-word seed phrase. This phrase is crucial to access your funds and restore your wallet in case of a lost or stolen device. Keep it private and secure.
Step 2: Connect to the Solflare Wallet
To access your wallet, click on the “Access Wallet” button on the Solflare website.
Enter your password and seed phrase to log in to your wallet. If you have trouble logging in, click on the “Recover Wallet” button and follow the instructions.
Once logged in, you can see your wallet balance, transaction history, and other details.
Step 3: Send and Receive Tokens
To send tokens from your Solflare Wallet, click on the “Send” button on the dashboard.
Enter the recipient’s wallet address, the amount of tokens you want to send, and any additional notes or memos. Review the transaction details and click on the “Send” button.
To receive tokens, click on the “Receive” button on the dashboard. Share your wallet address or QR code with the sender to receive the tokens.
Step 4: Staking on Solflare
Solflare also allows you to stake your SOL tokens through the wallet. Staking is a process by which you can earn rewards for holding SOL tokens and helping to secure the network.
To stake your SOL tokens, click on the “Staking” option from the dashboard.
Enter the amount of SOL tokens you wish to stake and click on the “Stake Now” button. Once staked, you will start earning rewards on your staked tokens.
Step 5: Other Features
Solflare wallet has many other features, such as viewing token balances, transaction history, and token swap options.
To view token balances, click on the “Tokens” option on the dashboard.
To view transaction history, click on the “Transactions” option on the dashboard.
Conclusion:
Setting up and using Solflare Wallet is easy and straightforward. By following the above steps, you can access, send, and receive tokens securely. Solflare also allows you to stake your SOL tokens and earn rewards. Remember to keep your password and seed phrase safe and securely stored.

